
More Videos You May Like

How To: Crochet Arcade Stitch
-
17:44
Learn how to master Arcade Stitch in this tutorial. This stitch creates a...
Learn how to master Arcade Stitch in this tutorial. This stitch creates a...
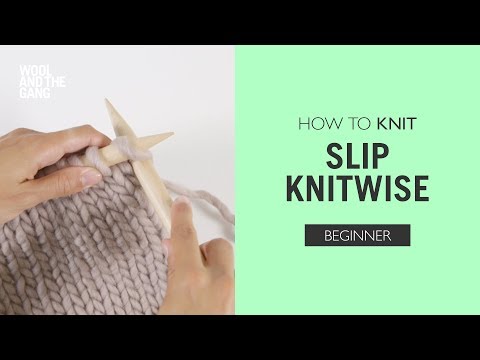
How to: Knit Slip One Knitwise
-
1:37
We're all about quick, easy solutions to help you knit. Learn how to slip...
We're all about quick, easy solutions to help you knit. Learn how to slip...
How to: Knit Picking up Stitches
-
5:28
In this video, you'll learn how to master picking up stitches. This...
In this video, you'll learn how to master picking up stitches. This...
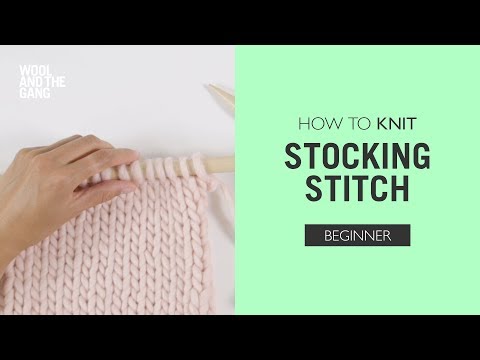
How to: Knit Stocking Stitch
-
3:10
Learn how to make the most iconic stitch and you'll be ready for any...
Learn how to make the most iconic stitch and you'll be ready for any...
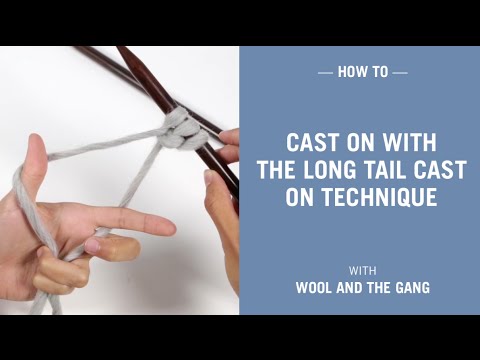
How to: Cast on with the long-tail cast on technique
-
3:12
Learn how to cast on with our long-tail tutorial. This classic cast on...
Learn how to cast on with our long-tail tutorial. This classic cast on...
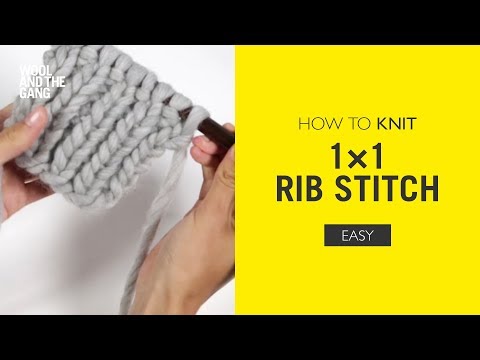
How To: Knit 1x1 Rib
-
3:13
Learn how to do a 1x1 rib stitch by following our step-by-step video...
Learn how to do a 1x1 rib stitch by following our step-by-step video...
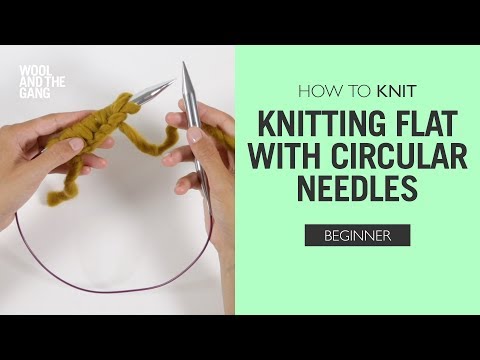
How to: Knit flat with circular needles
-
3:08
Does your project call for circular needles, or are you just partial to...
Does your project call for circular needles, or are you just partial to...
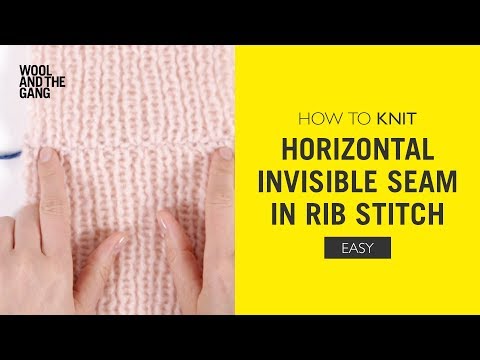
How to: Knit Horizontal Invisible Seam In Rib Stitch
-
2:42
Learn how to create invisble joins when seaming rib stitch together. This...
Learn how to create invisble joins when seaming rib stitch together. This...
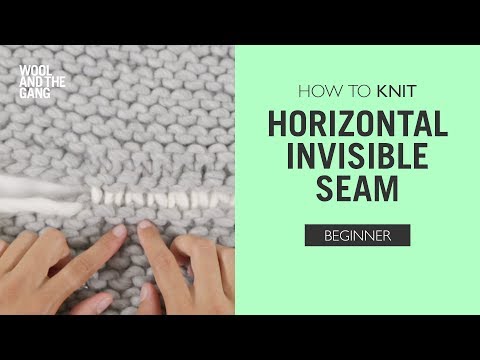
How to: Knit Horizontal Invisible Seam
-
7:23
Ready to sew your finished pieces together? Learn how to use the horizontal...
Ready to sew your finished pieces together? Learn how to use the horizontal...
How to make crochet ribbing
Learn how to make crochet ribbing by working into the back loop of your crochet stitches. A simple way to add rib trims to your crochet projects. This video uses US crochet terms.
Learn how to make crochet ribbing by working into the back loop of your crochet stitches. A simple way to add rib trims to your crochet projects. This video uses US crochet terms.
Read lessLearn how to make crochet ribbing by working into the back loop of your crochet stitches. A simple way to add rib trims to your crochet projects. This video uses US crochet terms.
See the step by step guide here
Level:
Easy
Craft:
Crochet
Type:
Technique
More Videos You May Like
![]()
![]()
-
More Videos You May Like
How To: Crochet Arcade Stitch - 17:44
Learn how to master Arcade Stitch in this tutorial. This stitch creates a...
How to: Knit Slip One Knitwise - 1:37
We're all about quick, easy solutions to help you knit. Learn how to slip...
How to: Knit Picking up Stitches - 5:28
In this video, you'll learn how to master picking up stitches. This...
How to: Knit Stocking Stitch - 3:10
Learn how to make the most iconic stitch and you'll be ready for any...
How to: Cast on with the long-tail cast on technique - 3:12
Learn how to cast on with our long-tail tutorial. This classic cast on...
How To: Knit 1x1 Rib - 3:13
Learn how to do a 1x1 rib stitch by following our step-by-step video...
How to: Knit flat with circular needles - 3:08
Does your project call for circular needles, or are you just partial to...
How to: Knit Horizontal Invisible Seam In Rib Stitch - 2:42
Learn how to create invisble joins when seaming rib stitch together. This...
How to: Knit Horizontal Invisible Seam - 7:23
Ready to sew your finished pieces together? Learn how to use the horizontal...


Step by Step

Step 1
In this how-to we will be showing you the process for crochet ribbing. It is worked lengthways, but when turned on its side it resembles a knitted rib. We are using our Shiny Happy Cotton yarn in Hot Pink. Let’s get started!

Step 2
Here we have already worked a few rows in single crochet. To begin, make a turning chain of 1 stitch - you do this by wrapping the yarn around the hook, and pulling it through the stitch on the hook.

Step 3
You are now going to work 1 row in single crochet - you do this by inserting your hook underneath the second stitch from the hook, wrapping the yarn around the hook and pulling it through the stitch. Yarn over the hook again and pull it through the 2 stitches on the hook. Do this for every stitch on this row. For the single crochet how-to, search “single crochet” in the search bar at the top right of this page!

Step 4
When you are done with your first row of single crochet, turn your work. You are now going to work 1 row in slip stitch. The important thing to remember here is that you do not make a turning chain for the start of this row. Insert your hook under the first stitch and wrap the yarn around the hook.

Step 5
Pull the yarn through both loops on the hook. It’s important to keep this row of work nice and loose, as if it is too tight it will affect your tension.

Step 6
Repeat the slip stitch for every stitch on this row. The picture to the left here shows the piece of work after one row of slip stitch has been worked.

Step 7
Turn your work, and make one turning chain.

Step 8
Now you are going to work back across your piece in single crochet. If you look at the top of your work, you should be able to see that you have two sets of v’s - one is in front of the other.

Step 9
In order to work your row of single crochet you are going to go into the back “v” rather than the front “v”. Insert your hook under the back “v” and complete a single crochet stitch. Continue working single crochet in the back “v” of every stitch this row. Doing this will create a rib effect on the front of your work.

Step 10
After working the last row in single crochet, you can see that a line of “v’s” have appeared on the right side of the work. It is starting to assemble ribbing. Keep repeating the 2 rows of slip stitch and single crochet until your work has reached the desired length!