
More Videos You May Like

How To: Crochet Arcade Stitch
-
17:44
Learn how to master Arcade Stitch in this tutorial. This stitch creates a...
Learn how to master Arcade Stitch in this tutorial. This stitch creates a...
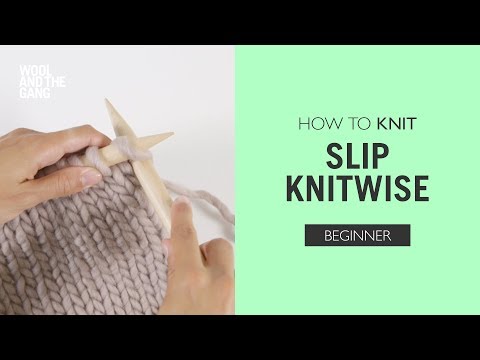
How to: Knit Slip One Knitwise
-
1:37
We're all about quick, easy solutions to help you knit. Learn how to slip...
We're all about quick, easy solutions to help you knit. Learn how to slip...
How to: Knit Picking up Stitches
-
5:28
In this video, you'll learn how to master picking up stitches. This...
In this video, you'll learn how to master picking up stitches. This...
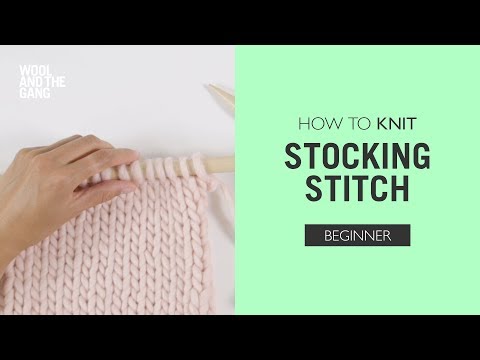
How to: Knit Stocking Stitch
-
3:10
Learn how to make the most iconic stitch and you'll be ready for any...
Learn how to make the most iconic stitch and you'll be ready for any...
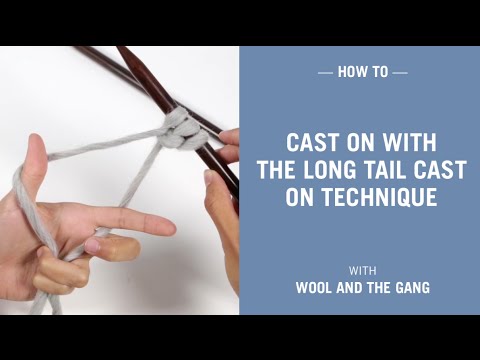
How to: Cast on with the long-tail cast on technique
-
3:12
Learn how to cast on with our long-tail tutorial. This classic cast on...
Learn how to cast on with our long-tail tutorial. This classic cast on...
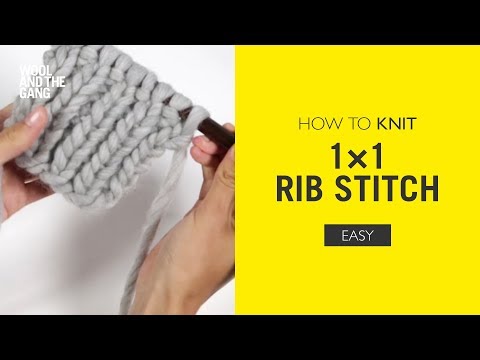
How To: Knit 1x1 Rib
-
3:13
Learn how to do a 1x1 rib stitch by following our step-by-step video...
Learn how to do a 1x1 rib stitch by following our step-by-step video...
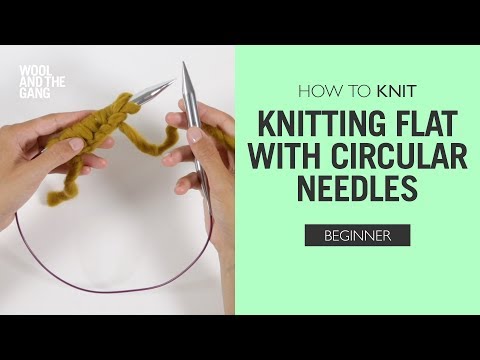
How to: Knit flat with circular needles
-
3:08
Does your project call for circular needles, or are you just partial to...
Does your project call for circular needles, or are you just partial to...
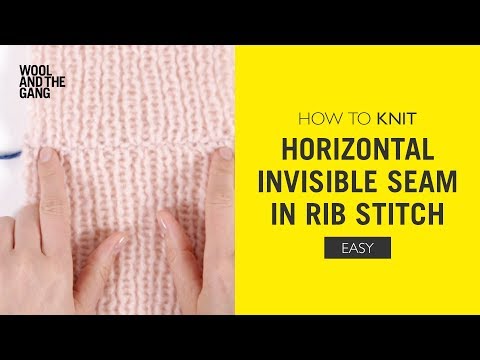
How to: Knit Horizontal Invisible Seam In Rib Stitch
-
2:42
Learn how to create invisble joins when seaming rib stitch together. This...
Learn how to create invisble joins when seaming rib stitch together. This...
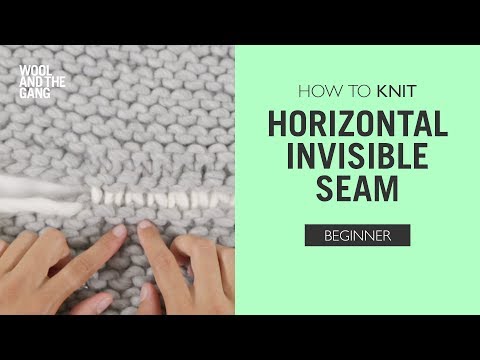
How to: Knit Horizontal Invisible Seam
-
7:23
Ready to sew your finished pieces together? Learn how to use the horizontal...
Ready to sew your finished pieces together? Learn how to use the horizontal...
How to: Read a cross stitch chart
Learn how to read a cross stitch chart with this handy beginner’s video by DMC.
Learn how to read a cross stitch chart with this handy beginner’s video by DMC.
Read lessLearn how to read a cross stitch chart with this handy beginner’s video by DMC.
See the step by step guide here
Level:
Beginner
Craft:
Cross-stitch
Type:
Technique
More Videos You May Like
![]()
![]()
-
More Videos You May Like
How To: Crochet Arcade Stitch - 17:44
Learn how to master Arcade Stitch in this tutorial. This stitch creates a...
How to: Knit Slip One Knitwise - 1:37
We're all about quick, easy solutions to help you knit. Learn how to slip...
How to: Knit Picking up Stitches - 5:28
In this video, you'll learn how to master picking up stitches. This...
How to: Knit Stocking Stitch - 3:10
Learn how to make the most iconic stitch and you'll be ready for any...
How to: Cast on with the long-tail cast on technique - 3:12
Learn how to cast on with our long-tail tutorial. This classic cast on...
How To: Knit 1x1 Rib - 3:13
Learn how to do a 1x1 rib stitch by following our step-by-step video...
How to: Knit flat with circular needles - 3:08
Does your project call for circular needles, or are you just partial to...
How to: Knit Horizontal Invisible Seam In Rib Stitch - 2:42
Learn how to create invisble joins when seaming rib stitch together. This...
How to: Knit Horizontal Invisible Seam - 7:23
Ready to sew your finished pieces together? Learn how to use the horizontal...
Step by Step

Step 1
Cross stitch patterns are typically called charts because the design is charted out by squares that each represent a square on the Eider fabric.

Step 2
When a square is filled in, it means a stitch goes there.

Step 3
Cross stitch charts also contain a key that shows you which DMC colour threads to use where in your pattern.

Step 4
Cross stitch patterns also contain the type of fabric, colours of thread and how many skeins of each thread you will need.

Step 5
You will also need a needle, or a few, small scissors and an embroidery hoop.

Step 6
When cross stitching, it is easiest to finish all stitches in the same colour area before moving onto the next colour.

Step 7
When changing colours, fasten your new thread by slipping the needle under the last few stitches in the last colour.